Using Watch Events to Update ControlBar Data
Description
The ControlBar data can be updated automatically in response to certain events in the UX (such as the UX going dirty, a List going dirty, etc.) or by a change in the value of one or more controls. Watch Events can be defined in the ControlBar Builder inside the Data pane by first clicking the 'Add Data Item' button and then checking the 'Update value automatically based on a 'watch' events' checkbox. If a html item is placed in the ControlBar then the Watch Event can be added as a placeholder in the HTML text property.
To see how you can configure watch events to automatically update ControlBar data follow the guide below or watch this video:
Using Watch Events to Update ControlBar Data
The ControlBar data can be updated automatically in response to certain events in the UX (such as the UX going dirty, a List going dirty, etc.) or by a change in the value of one or more controls.
In this video we show how you can configure watch events to automatically update ControlBar data.
Adding a Watch Event
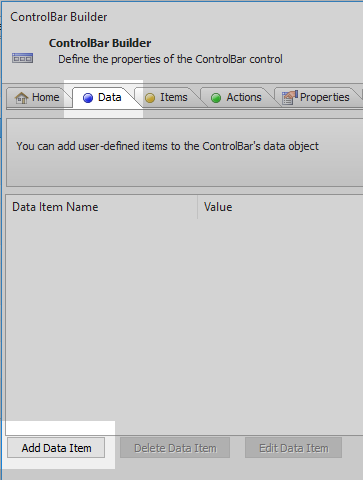
In the ControlBar Builder open the 'Data' pane. Click the 'Add Data Item' button.
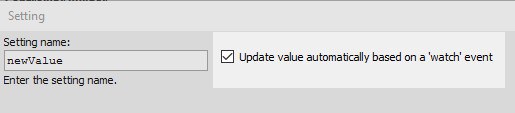
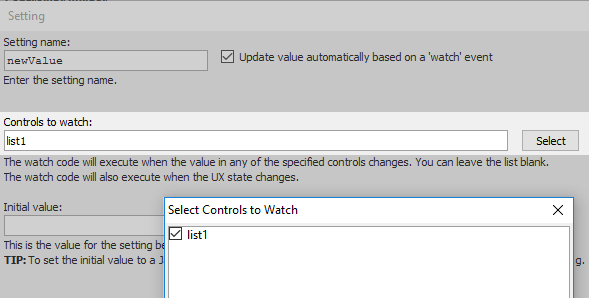
In the Setting dialog give the new data item the name 'newValue'.
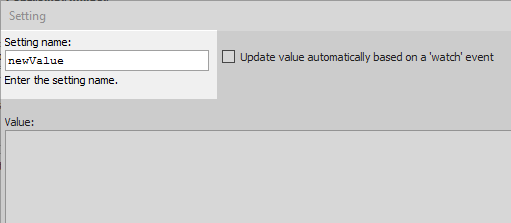
Check the 'Update value automatically based on a 'watch' event.
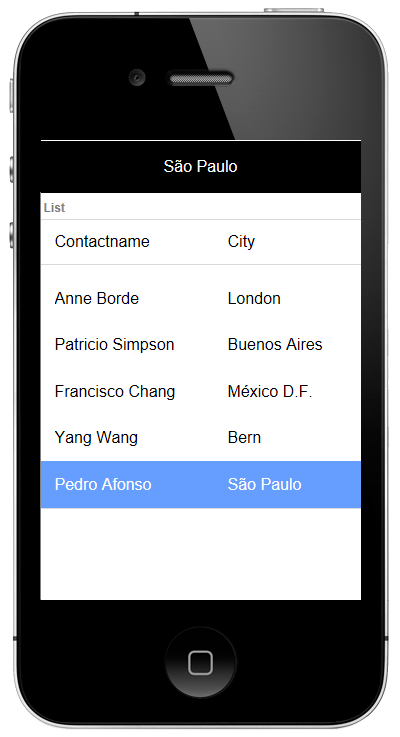
Click the 'Select' button next to the 'Controls to watch:' control box. Select the list you defined, list1.
Enter the JavaScript to execute when the watched controls change. The example below sets the variable to the current value for a List called "LIST1".
var listValue = {dialog.object}.getValue('LIST1');
return listValue;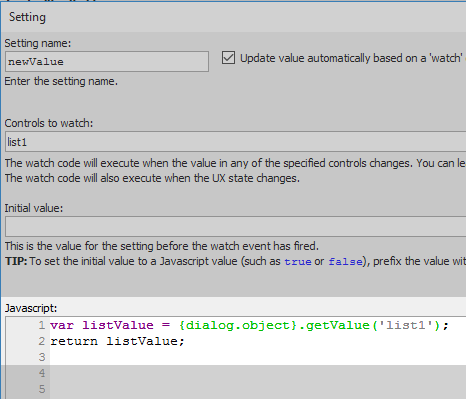
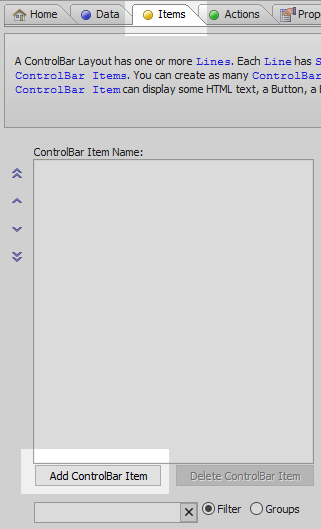
Open the Items pane and click the 'Add ControlBar Item'
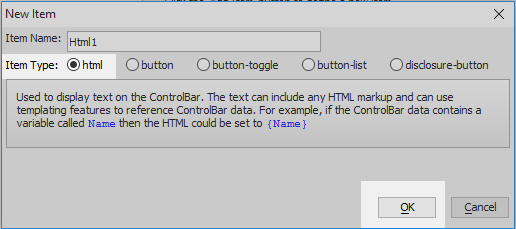
From the 'Item Type' choices select 'html' and click OK.
Highlight the html item. Click the
 button next to the 'HTML text' property under HTML Settings section.
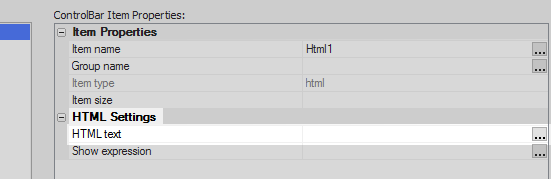
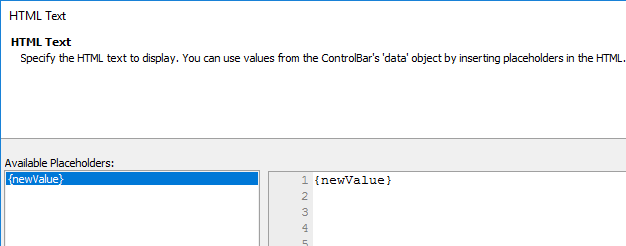
Double click on the {newValue} placeholder in the Available Placeholders list. The placeholder should appear in the HTML work area on the right. Click OK.
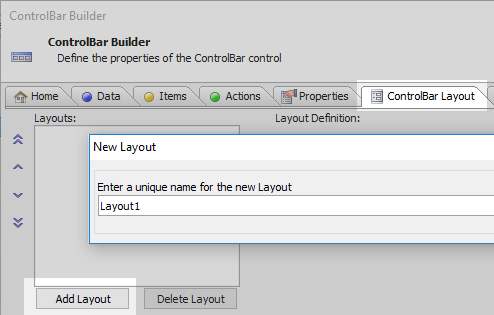
Open the 'ControlBar Layout' pane. Click the 'Add Layout' button. Give the new layout a name like 'Layout1'.
Click the 'Add Line' button.
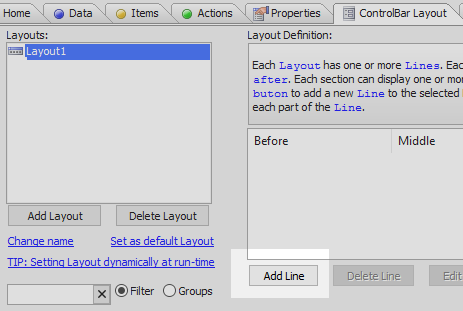
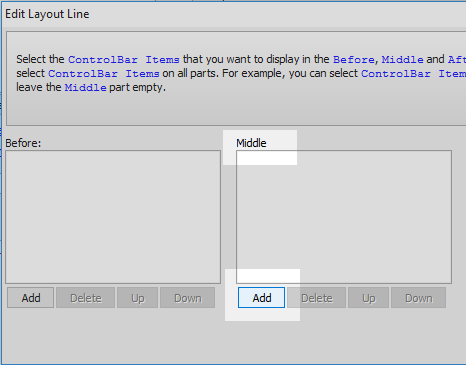
In the 'Edit Layout Line' dialog click the 'Add' button underneath the 'Middle' section.
Select the HTML item that was defined, Html1. Click OK and OK again to close the ControlBar Builder.

Run the component in Live Preview.

Use the arrow keys on the keyboard to scroll through the list control. The Watch Event should update the ControlBar data.